Enabling Client Certificate AuthN in On-Premises VMware Workspace ONE Access
Intro:
Enabling Certificate Authentication within Workspace ONE Access SaaS tenants is pretty straight forward with VMware's documentation. This walks through the various key points such as using User Principal Name for Cert AuthN (if desired), the Cert Authority for generating Client Certs for Authentication, using Cert Revocation Checking (if desired), and the configuration needed for utilizing Cert-Based Authentication within Workspace ONE Access.
Standing up Certificate based authentication for an on-premises, clustered, and load balanced Workspace ONE Access tenant can be slightly more tricky - or at least requires a few more steps than what is needed for VMware's Workspace ONE Access SaaS tenant (Cert AuthN is super easy in SaaS Workspace ONE Access - just see the above linked docs).
On-Premises Cert AuthN Requirements:
- Functional Workspace ONE Access On-Premises tenant
- If in a Cluster, then the following is also needed:
- A Load Balancer with additional VIPs configured for internal and external access
- Internal and External LB VIPs configured for Workspace ONE Access Certificate Passthrough Authentication
- Public FQDN certificate for the tenant (e.g. a TLS cert for portal.company.com)NOTE: This must already be loaded on the Reverse Proxy or Load Balancer and working within the tenant for standard web-based authentication but will need to be loaded again within each node of the tenant within the "Install SSL Certificates" tab on the "Passthrough Certificates" sub-tab
- Certificate must be in OpenSSL PEM format with child cert at the top, intermediate (signing certs) in the middle, and root CA at the bottom.
- Active Directory synchronized to Workspace ONE Access with on-premises Workspace ONE Access Connector(s)
- Active Directory Certificate Services
- User Certificate for Authentication
- System/Browser Trust of the root Certificate Authority issuing the Client Certificates for authentication
Configurations:
To enable Certificate Authentication within On-Premises Workspace ONE Access tenants, there are a few more pieces needed in order to make it all work.
- First and foremost, we need to ensure standard browser password (cloud deployment) authentication works on the tenant and that all tenant services within the System Diagnostics panel are green.
- Now we need to configure passthrough certificate authentication within each node's admin UI.
- Login to each appliance admin UI (i.e. Login to https://
:8443) within the tenant cluster and browse to "Install SSL Certificates" in the left side menu then select the "Passthrough Certificate" tab. - From there, set the port you wish to use (I am using "7443"), paste in the entire certificate chain, paste in the certificate key, and click the ADD button.NOTE: The certificate must be in an OpenSSL PEM format with the child cert at the top, intermediate (signing) certs in the middle, and the root CA cert at the bottom.

- Next, we need to manually modify each node's runtime configuration file to apply the same settings.
- Login to the appliance node console as root or SSH into the node with the sshuser account and then elevate privileges to root via the "su" command.
- Edit the "/usr/local/horizon/conf/runtime-config.properties" file by issuing the below command.vi /usr/local/horizon/conf/runtime-config.properties
- Within the runtime-config.properties file, modify the "components.certauth.port" value to read the actual TCP port number set in the steps above instead of its default value referencing the "${gateway.port}" variable.NOTE: Use "i" to enter Insert Mode and ESC to exit Insert Mode
- Exit and save the modifications to the runtime-configu.properties file by typing ":x" within VI Editor.

- Now we need to create the LB (if it exists for use with a 3-node cluster).NOTE: I am showing an F5 BIG-IP VIP configuration
- For the VIP, create a Layer 4 Load Balancer (within F5, this is a performance layer 4, within AVI, this is a "Layer 4 SSL/TLS" LB).
- Define the IP and the same TCP port as done within the appliances (in my case, "7443").
- Set the HTTP Client Profile to your template where X-ForwardedFor is set (in my case, "WS1-HTTP").
- Set the Source Address Translation to AutoMap (mainly for F5 BIG-IPs).

- Now all that is necessary is to finish configuring Certificate (Cloud Deployment) as an authenticator within Workspace ONE Access. From here on out it should be pretty much the same as it is in a SaaS Workspace ONE Access tenant.
- Within the On-Premises Workspace ONE Access tenant admin UI, browse to Identity & Access Management > Manage > Authentication Methods and click on the pencil for Certificate (Cloud Deployment) to enable and configure it.
- Check the box to enable it.
- Select your Root CA Issuing Certificate and upload it here by clicking the SELECT FILE button and uploading it.
- Define what User Identifier to be used.
- Other options are all optional.
- Click SAVE when done.

- Within the On-Premises Workspace ONE Access tenant admin UI, browse to Identity & Access Management > Manage > Identity Providers and click on your Access Directory's "Built-in" IdP (by default it is just called "Built-in" but it can be renamed if WS1 Access is integrated with more than one Active Directory environment).
- Check the box next to Certificate (Cloud Deployment).
- Click SAVE.

- Now we need to add Certificate (Cloud Deployment) to the default authentication policy.
- Within the On-Premises Workspace ONE Access tenant admin UI, browse to Identity & Access Management > Manage > Policies and EDIT the default_access_policy_set and navigate to "2. Configuration" within the Edit Policy wizard.
- Edit each of your desired default_access_policy_set policy rules where you wish to have certificate based authentication and add in the "Certificate (Cloud Deployment)" authenticator.
- Click SAVE on each policy rule.
- When done modifying each policy rule, then click NEXT and SAVE to close out of the Edit Policy wizard.

- Finally, the only step left is to configure your client to use certificate authentication via browser.
- For this to work, simply deploy a user certificate to the client platform for the user to authenticate with via Workspace ONE Access.
User Experience:
For the user experience, the hard part is simply deploying the client cert for authentication. There are some tricks which can be used for deployment - and certainly Active Directory GPOs can be used to auto-generate user certificates for client authentication. Certainly user certificate deployment can occur with Workspace ONE Device Enrollment as well, but not all "managed" systems are "enrolled" systems.
Most browsers just need the certificate added to the user's certificate store and the root CA added to the system or user's Trusted Root CAs store (if there are any Intermediate CAs, those also get added to the system or user's Intermediate CA store). Firefox, however, is the only exception where it has its own certificate store (rumor is that Chrome is also going that route but on a TBD date). This can be modified so Firefox utilizes the OS system or user certificate stores. For your browser and OS in question, I recommend searching the Internet with your favorite search engine to find the answer as those are pretty well documented.
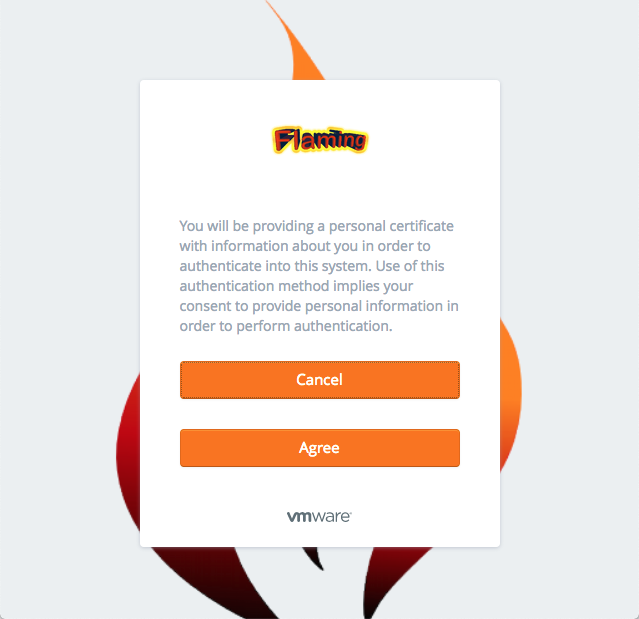
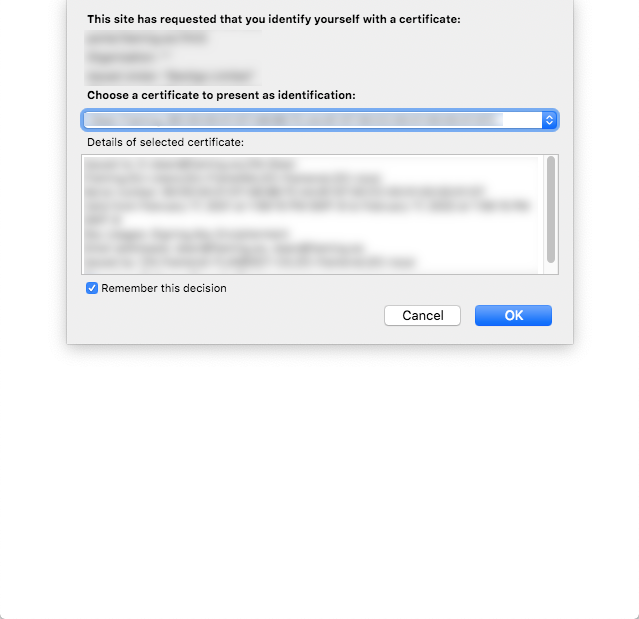
As for the experience, once the cert (and chain) are installed on the client, browsing to the Workspace ONE Access portal will provide a prompt for a user certificate. Workspace ONE Access does have an option to provide a notification to the user just prior to this for user edification - which is purely optional.